
Brief Announcement: I have changed out the Freebie for Fans on my Facebook Page, so if you have liked the page (or like the page now) there is a holiday goodie waiting for you that is a sneak preview of an upcoming product!).
In the past I have talked about verbal perseverations where a student gets stuck on a topic or saying. You can find more about that here. Recently I had a commenter note that her problem was having a student not be willing to give back his iPod Touch in order to do work. I have worked with a number of students who were obsessed with objects that appeared far less interesting than an iPod and refused to put them down. Consequently their hands, and their attention, were never completely free for instruction. Needless to say that was problematic and sometimes led to tantrums and other challenging behaviors because the teacher tried to take the item from the child. Many of you have probably worked with students who had similar obsessions with items that they refused to relinquish even temporarily. So I thought I would share a strategy that I’ve found useful for this: a parking lot.
A parking lot is simply a place where the student “parks” his or her item temporarily. It is kind of like you park your keys in a dish by your front door when you come home so they are always there when you need them. The student puts the item in the parking place when instruction begins and gets to remove it when instruction ends (often as a reinforcer for compliance). I am always amazed at how well this works on the first try with many students.
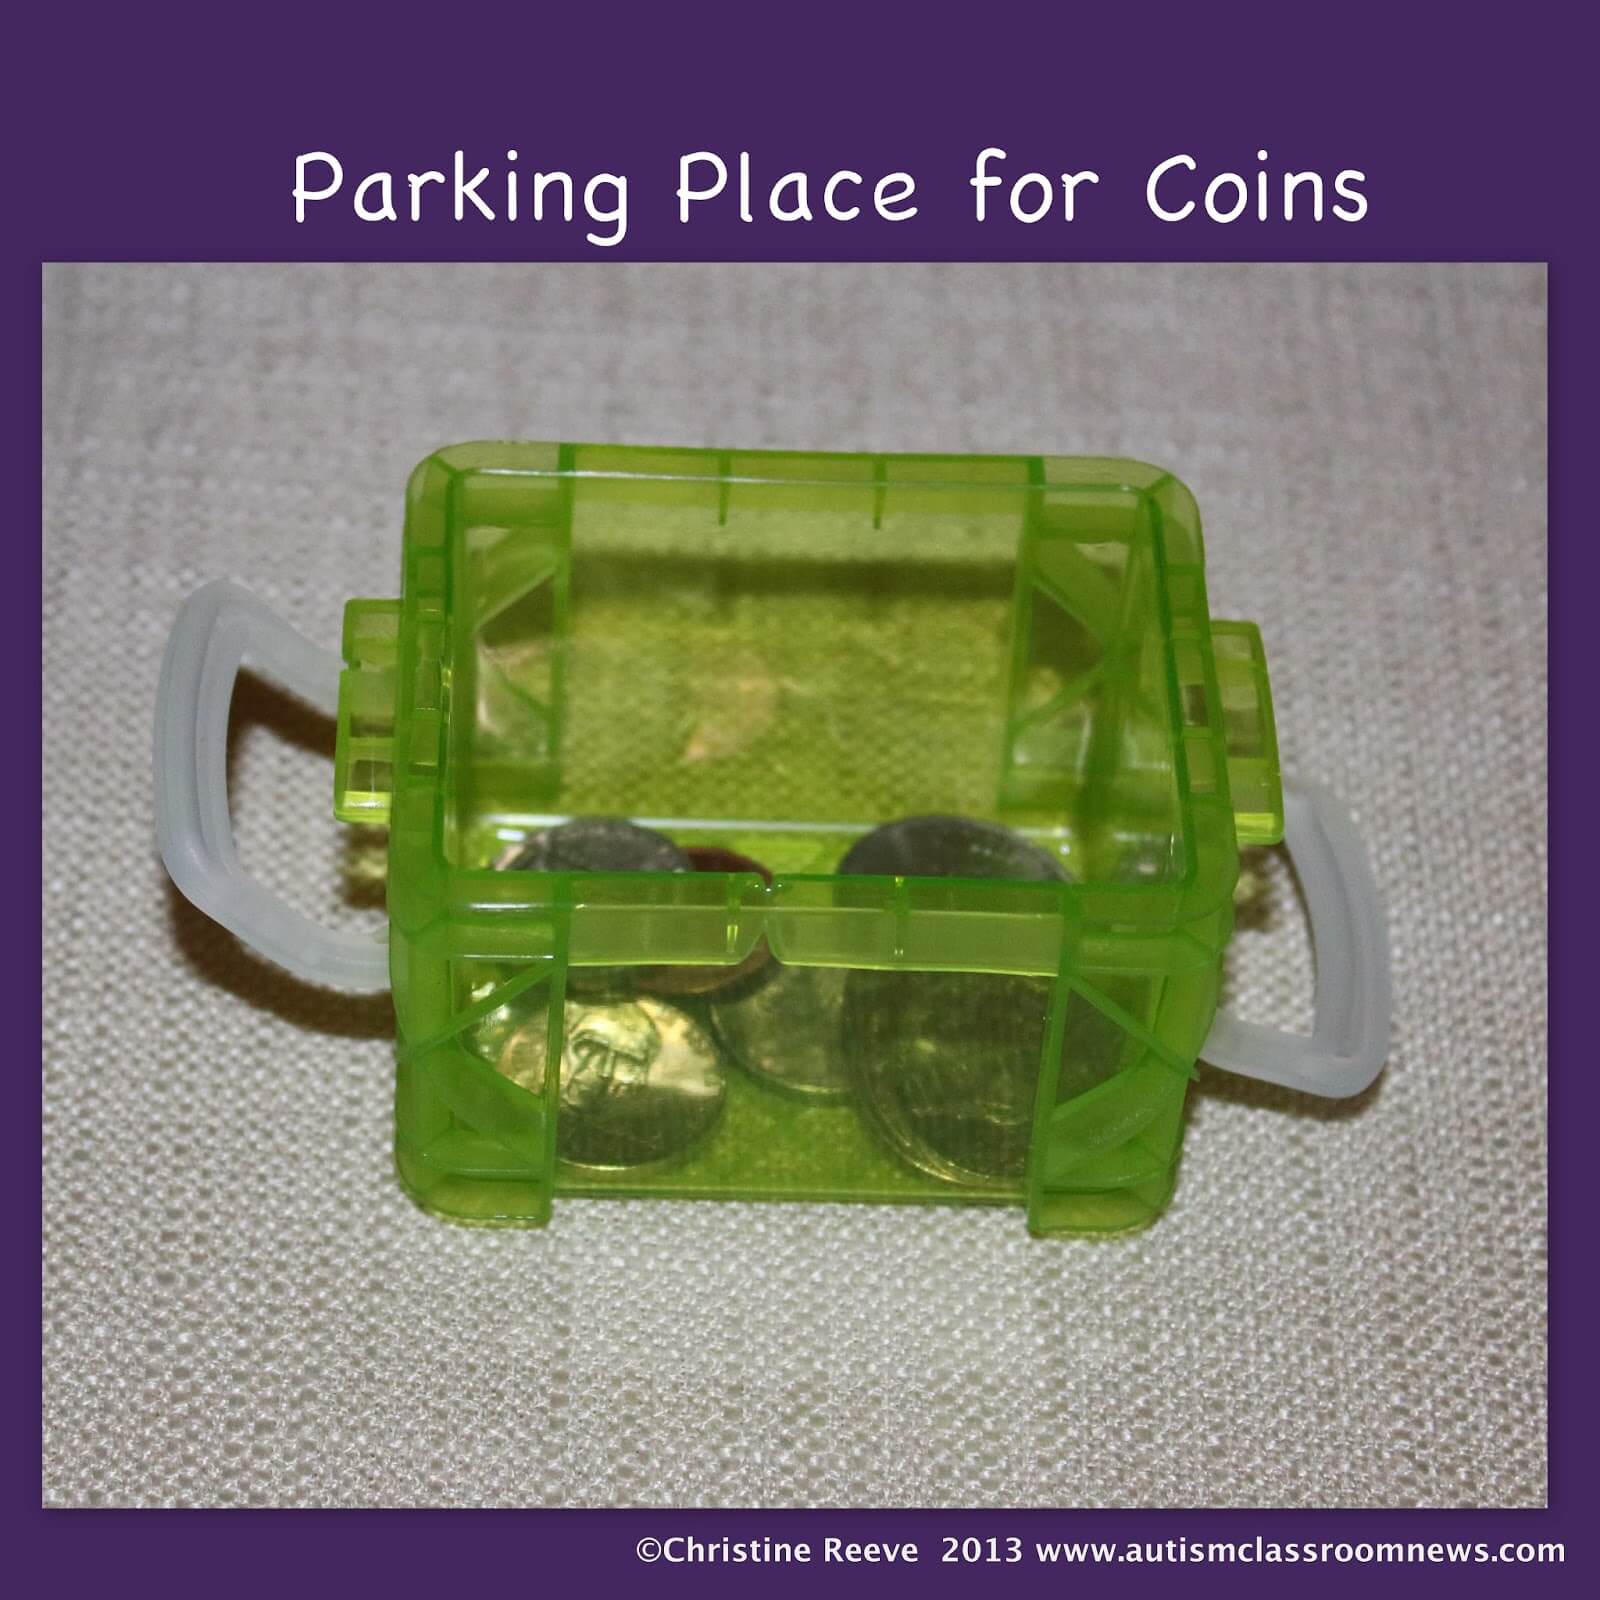 I remember a student who always carried around a bunch of coins in his hand and refused to give them up if you put out your hand or told him to put them away. However, once I put a container on the table and told him to “park the coins” and showed him once that the coins would stay where he could see them, he got the concept immediately and would park them as soon as he sat down. He got them back as a reinforcer. Initially I put a cover on the container, but I quickly didn’t need it.
That student got it immediately, but some students will need instruction in how it works before they easily trust it. So here are some thoughts for how to make it successful.
1. Start with a parking lot at the instruction table/area
I find it easiest if you start with a container that sits where the student can see it. This way he or she can still see the item of interest, but it isn’t interfering with instruction. This means that no one can take it away from them and not return it and that it is close at hand. Small containers like the ones in the picture above are good for smaller items. I found most of them in the dollar aisle (some were 4 for $1) at the office supply store.
2. They always get the item back
Part of the reason this system works is because the student learns the routine and trusts it to be the same each time. Consequently, this is not an opportunity to hide something that is driving you crazy, as much as you might want to. In order for the student to trust the system, he or she has to get the item back routinely.
3. Start with short periods of time and slowly expand
Just like with any skill or new expectation, shape up the student’s ability to wait to get the item back. Start with a very short time period. He puts the item in the container, he does one problem, he gets it back. Then slowly increase the expectations before he gets it back. When he can handle it at instruction, you can start having him park items during other activities and eventually, perhaps, park it at the beginning of the day and get it back at the end. This will take time to build, however, in most situations.
4. Sometimes a sign is helpful
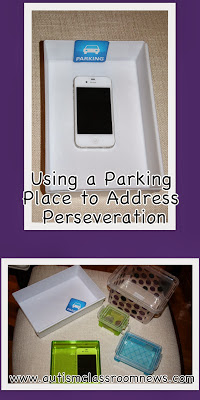
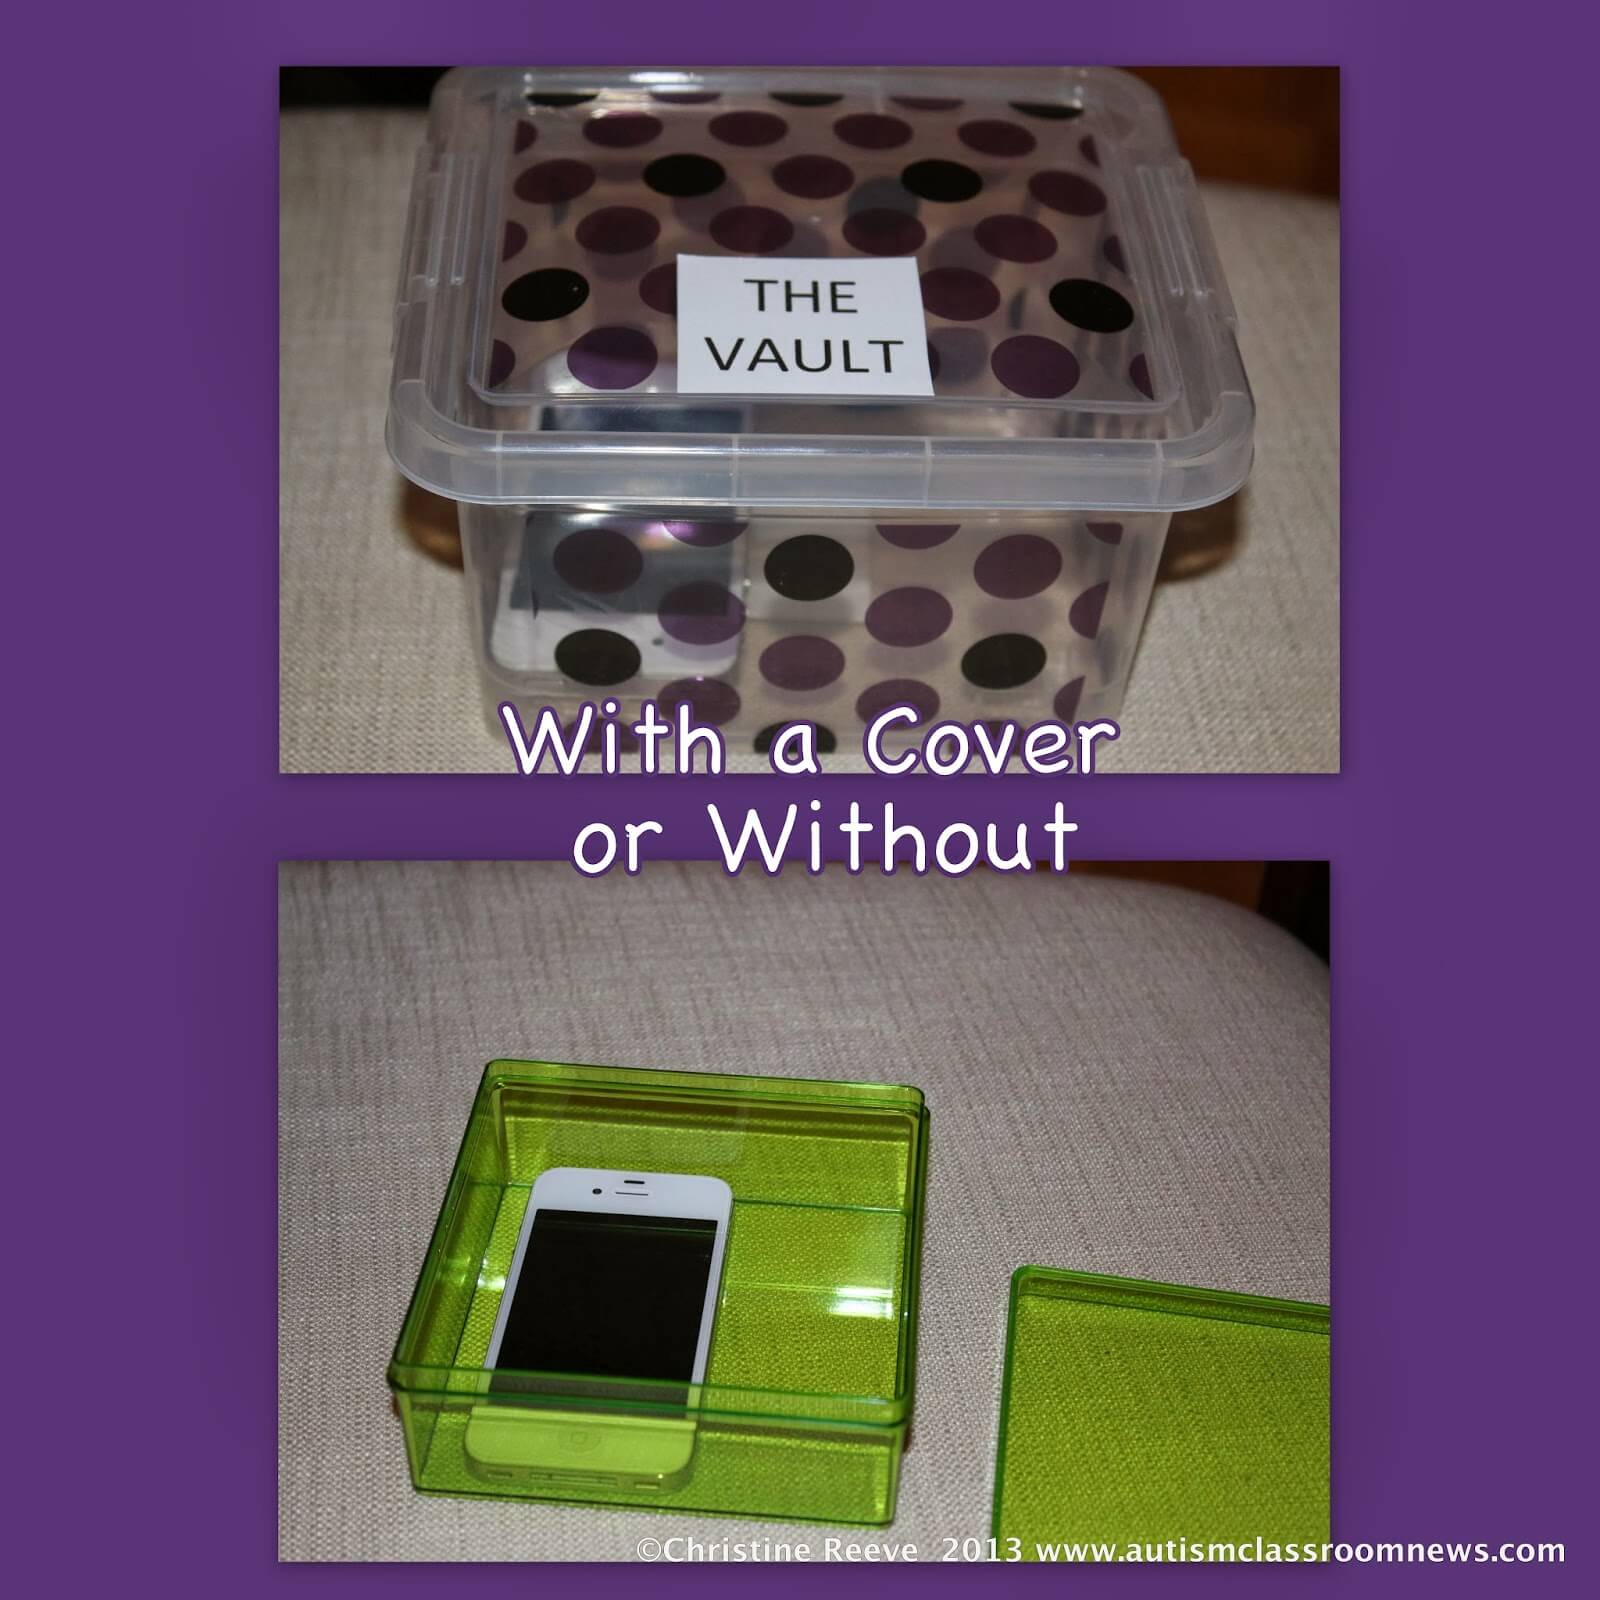
Sometimes it’s helpful to put a visual on the container, especially at the beginning. In the picture at the top you will see one container that is called “The Vault” and another that says “Parking Place.” Whatever you call it is probably irrelevant, except you want to try not to call it something that you have tried and failed before. I think that one of the reasons it works is because we aren’t saying, “Give me the coins” and the use of a term like “Park” has a different meaning and comes to mean temporarily giving them up.
5. At first a cover can be helpful but it isn’t always needed
If the student keeps reaching for the item, then putting a cover on the bin can be helpful to prevent it and to send a clear visual cue that it is off limits. Sometimes you can start with a lid and then fade it out.
Finally, I ran across this device recently and thought it was the “grown up” version of a parking place. It’s called The Kitchen Safe and apparently you can time how long it stays closed. This might be the self-monitoring version of a parking place.