
Let me come clean at the start of this post….I promised a freebie related to discrete trials in my last post and I’m just not quite done with it yet. I do promise that it will be worth the wait but I need to make sure I have all the ducks in a row before I can release it. So please hang with me if you can for another post or two before I’m ready to share. I actually found I was delaying this post in order to be able to post it, but it’s just going to take more time than I expected (and when have I NOT said that about any type of product!). I do promise it will be worthwhile–it’s a huge freebie and it just keeps getting bigger. I also may have some opportunities for testers of a new set of products, so leave me a comment if you are interested or keep an eye on my Facebook page for more information about that.
In this series I have been talking about how to present the trial–how to present the verbal part of the instructions and my last few posts have focused on that aspect of presenting the trial. Today I want to talk about how we present the materials within a trial. When we are presenting receptive language, reading, and other types of skills that require the student to choose from a set of materials, you want to be careful about how the materials are prepared and how you show them to the students.
As I have talked about before, learners with autism have difficulty attending to the relevant features of materials. These are the kids who look at one of those worksheets of a picture of the beach in which the teacher tells you to circle all the things that are wrong, like the dog surfing, it’s only raining on the cat, etc. Most kids get those things are silly. Many learners with autism can find something wrong with the picture….it just isn’t what you expected. It may be the 3 grains of sand in the lower right corner of the picture that are a slightly different color than the rest. Not really what the teacher was going for. So this stimulus overselectivity (the $20 word for picking up on the wrong thing) means we have to be very careful in how we plan our instruction. Here are some things to think about when creating materials you are going to use in discrete trials.
 1. Use representative examples
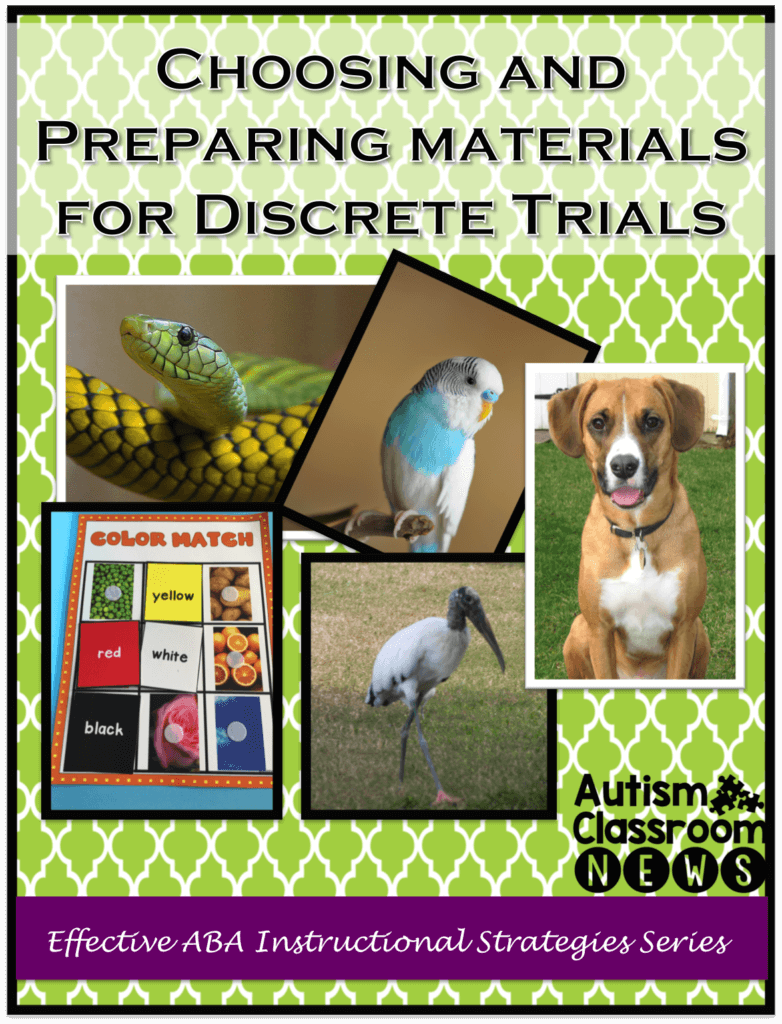
Choose materials that represent clearly the concept you are trying to teach, at least at the beginning. For instance, choose a primary red color when teaching red rather than a maroon or pinkish red. If you are working on animals, choose a labrador as a picture of a dog rather than a hairless chihuahua. Later we’ll add variety. First you want to make sure that you are giving examples that represent the largest part of the class of the concept you are teaching. In the picture below, the parakeet on the left looks a whole lot more like a prototypical bird than the heron standing on one leg on the right.
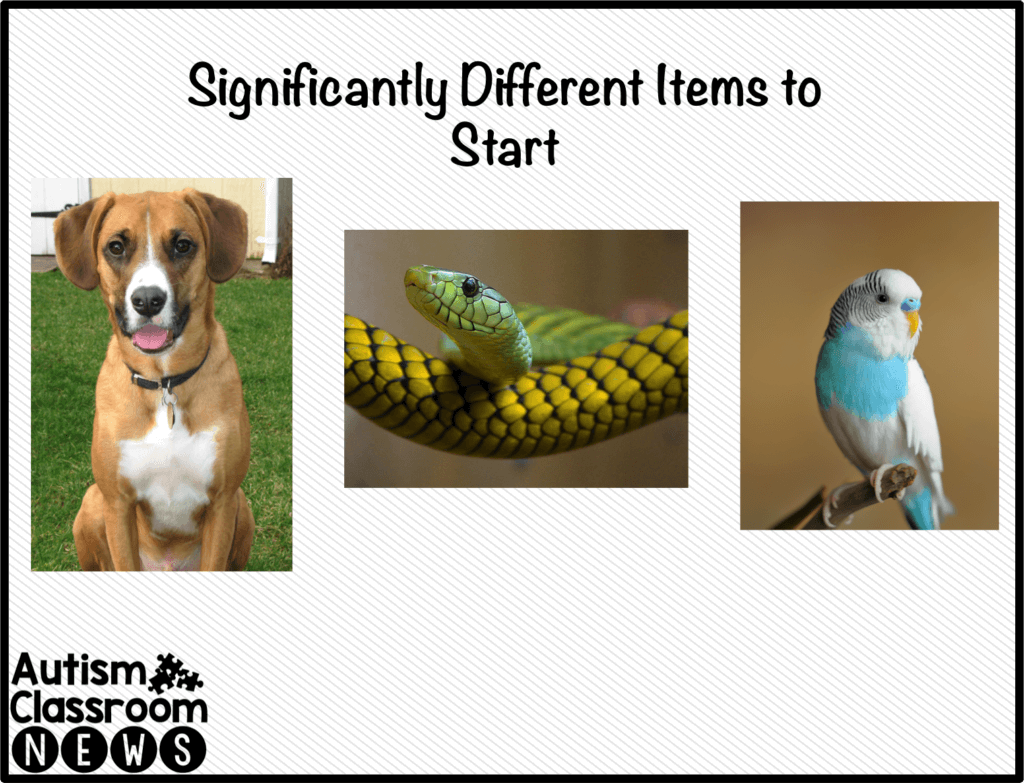 2. Start your instruction with examples that are significantly different from each other
Start your instruction with pictures or items that are very different. For instance, if you are teaching receptive ID of animals, don’t start with cow, dog and cat. They all have 4 legs, tails and fur. Instead start with dog, snake, and bird–they all look significantly different. This will make it easier for the learner to differentiate between them. As teaching goes on you can add in animals that look more like each other.
 3. Be careful with backgrounds and distractions
Start with pictures that look as much like real-life as possible and that highlight the item you want the student to focus on. You want to make sure that the student doesn’t learn the background instead of the item. In the picture below the bird and snake have neutral backgrounds, but the dog has a lawn behind him. A student who picks up on the wrong information in the picture might decide that dog means green–as in the green background–rather than the dog picture in the foreground.
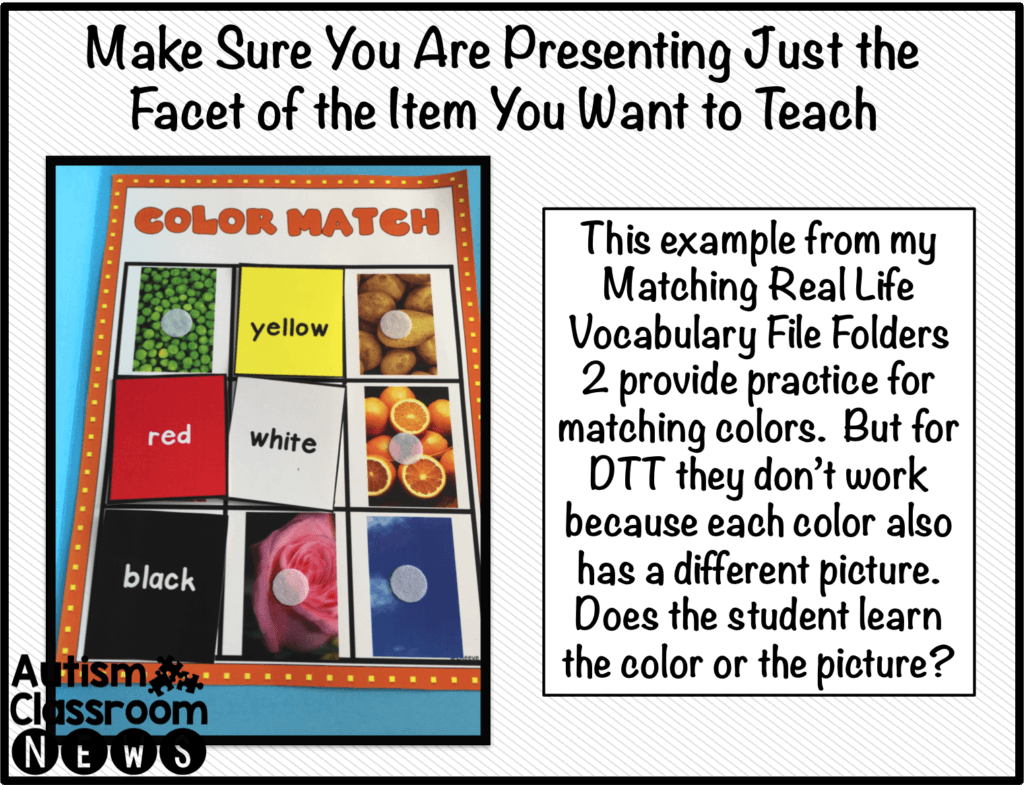
4. Make sure your materials don’t do double duty
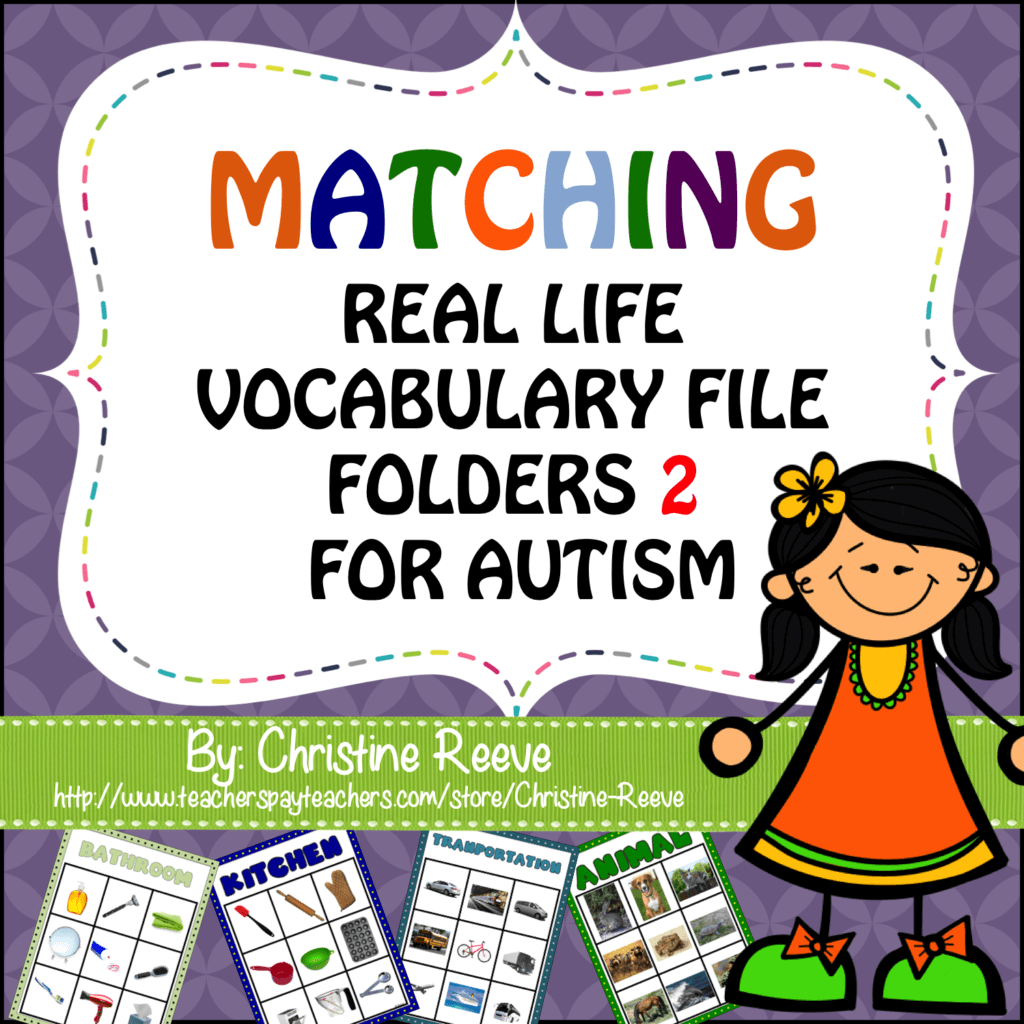
The picture to the left is a picture of a file folder activity from my Matching Real Life Vocabulary File Folders 2 activities. This one is designed for practicing matching colors. For matching colors, it works fine (with the exception of the issue I’ll deal with in #5). However, I wouldn’t use the pictures of the green peas for green or the oranges for orange to teach receptive ID of colors because many learners would focus on the picture rather than the color. So he might learn only peas are called green. We see this happen frequently when teaching colors and shapes. If you are teaching identifying colors, keep them all the same shape. If you are teaching shapes, keep them all the same colors. Don’t have too many variations in the materials from the key purpose you are teaching.
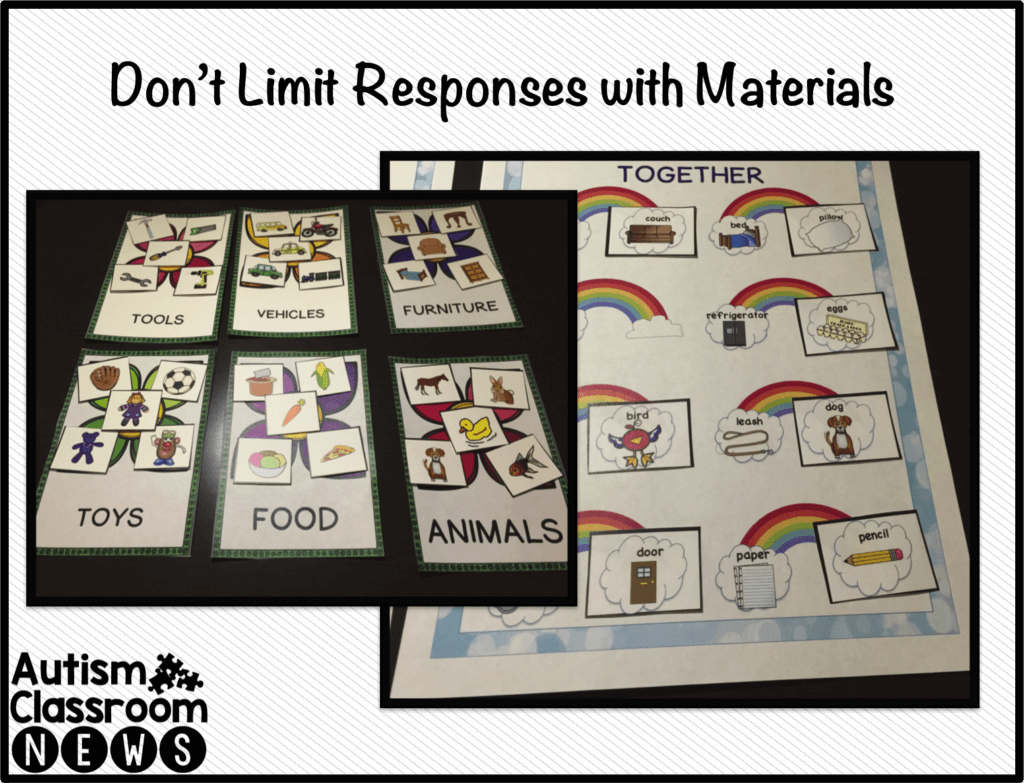
5. Don’t Let Your Materials Give Away the Answer
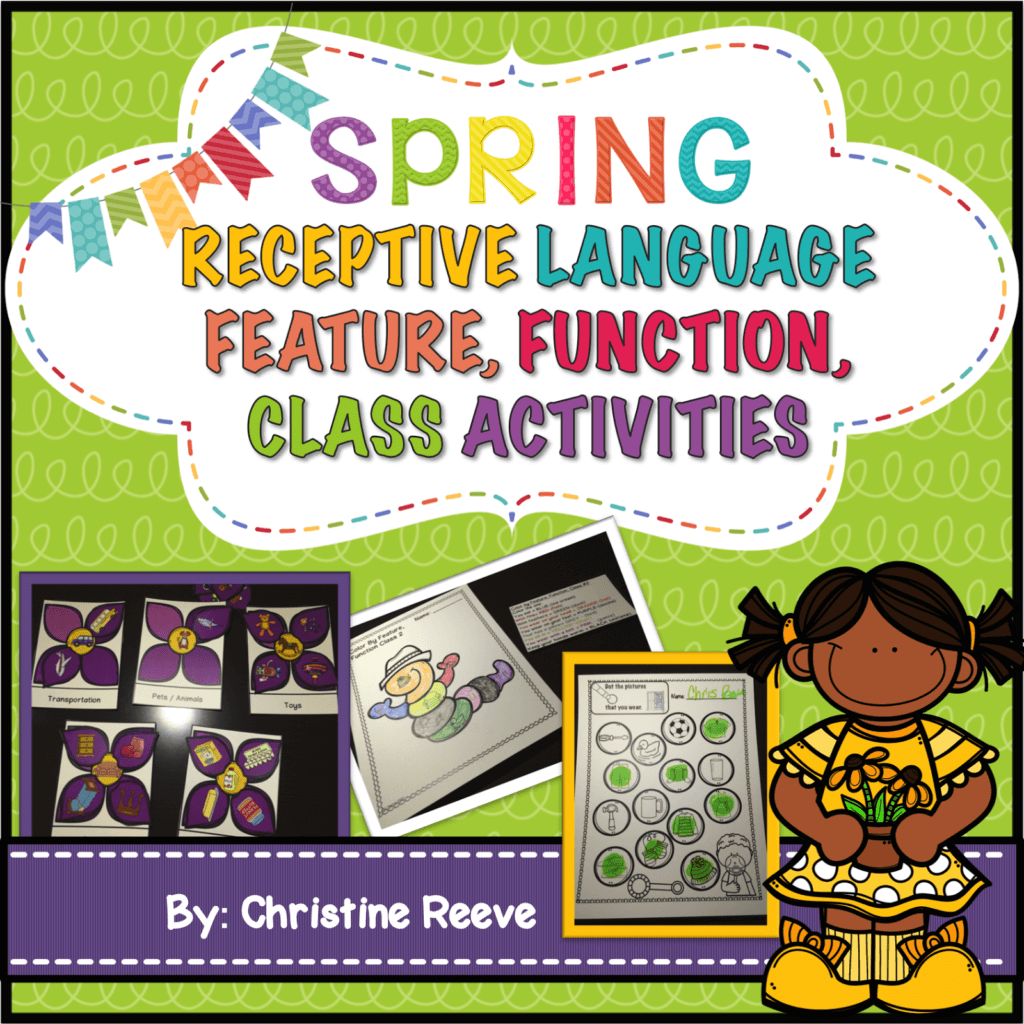
This is probably the issue I see most frequently with materials people choose to use for DTT. The picture to the right is from my Receptive Vocabulary Activities for Spring. They are designed for learners to practice their skills in identifying items by feature (which have a tail?), function (which one do you eat with?) and class (give me an animal). These are great practice materials for students who have already mastered or started to learn the concepts and need to generalize them. The problem with using file folders and sorting tasks (like those above) for the beginning of instruction in discrete trial learning is that the students get the answers by process of elimination. So for instance, if a student needs to find all the animals in the sorting task above, once he fills up all 5 spaces on the animal cards, he knows the rest of the cards are not animals. If you prompted him for any of those answers you helped along the process of elimination. Think about how we teach (or at least I was finally taught) how to take standardized/multiple choice tests. Eliminate the answers you know are wrong and pick between the ones you aren’t sure of. If you are doing a matching task, leave the hardest ones for last because once you figure out the other ones, the last one is the only one left.
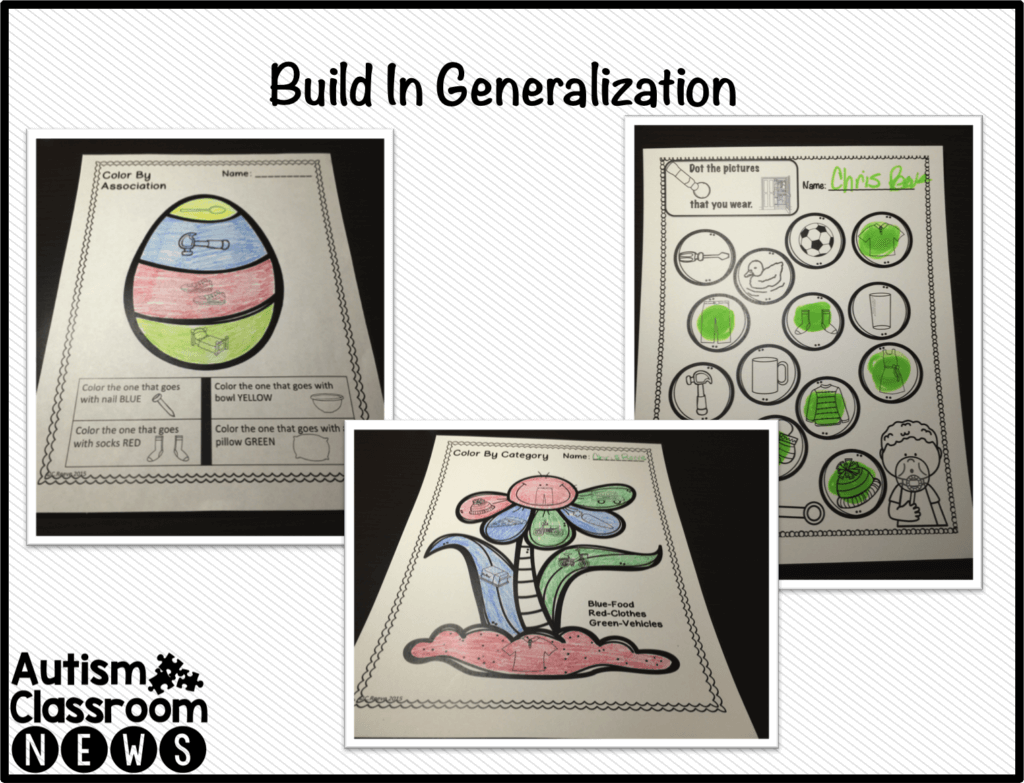
6. Build In Generalization
Finally, when start out teaching in discrete trials, we want our materials and directions to be very consistent. However, we want to change it up as the student begins to learn the concept or he will only learn that a brown dog like the one in the picture above is a dog and he won’t generalize to a chihuahua or a pug (and that would be sad, because we know pugs are the cutest!). So, after we get them going with consistent materials, we start switching it up. Then after they begin to learn the concept we want them to practice the concept in different ways. As I always say, Life is not discrete trial. Very little in discrete trials looks like the real world. We design it that way to make sure that our learners are able to focus and learn. However, the whole point of the exercise for them to learn to learn and be able to use their learning in the real world. To do that, we have to branch out from DTT to more materials, instructions and ways of using what they have learned. The materials in my Receptive Vocabulary Activities for Spring are designed to help with that (and yes I will be making more for other seasons and probably with other themes). It is a combination of sorting and matching activities (put associated items together (e.g., dog-leash, shoe-sock) as well as bingo marker tasks where the student dots all the food pictures or dots all the animals. In addition, there are activities for following directions by coloring and coloring by category. This provides students with lots of ways to practice their skills that they learned in DTT in other situations and to maintain them during small group and independent work.
So those are some considerations for how we choose and create the materials that we use. I’ll be back next time with some thoughts about how we present them to the students. If you are looking for the products that I pictured in this post, check below and click on the cover pages for more information.
Until next time,